
This guide outlines how to create a custom button for the Configurator within Dynamics 365 Finance & Operations (F&O). The button is added through a form extension and can be secured using F&O’s role-based security framework.
Prerequisites
Before proceeding, ensure the following:
-
You have development experience with Visual Studio and F&O.
-
You have access to a development environment.
-
You are familiar with form extensions and security roles in F&O.
To ensure only specific user groups see the button, use Security Configuration to control access via menu items and privileges.
Procedure
-
Create an Action Menu Item:
-
In the Application Object Tree (AOT), create a new Action Menu Item.
-
Assign it a meaningful name (e.g., CustomConfigureXYZ).
-
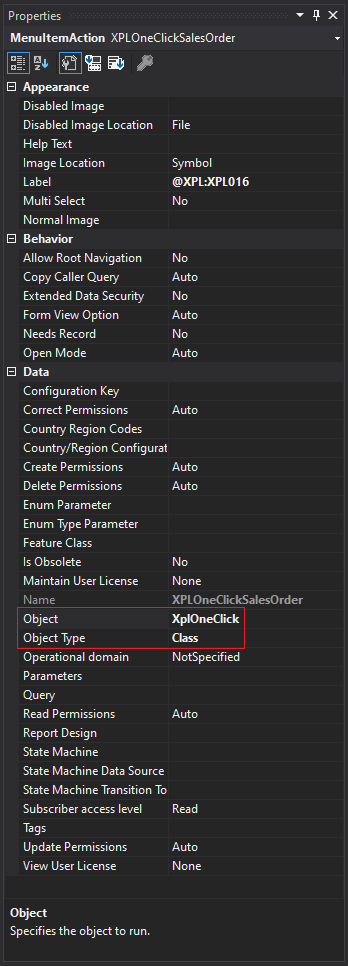
Set the following properties:
-
Object Type: Class
-
Object: XplOneClick
-
-
-
Extend the Target Form:
-
Create an extension of the form that must include the button.
-
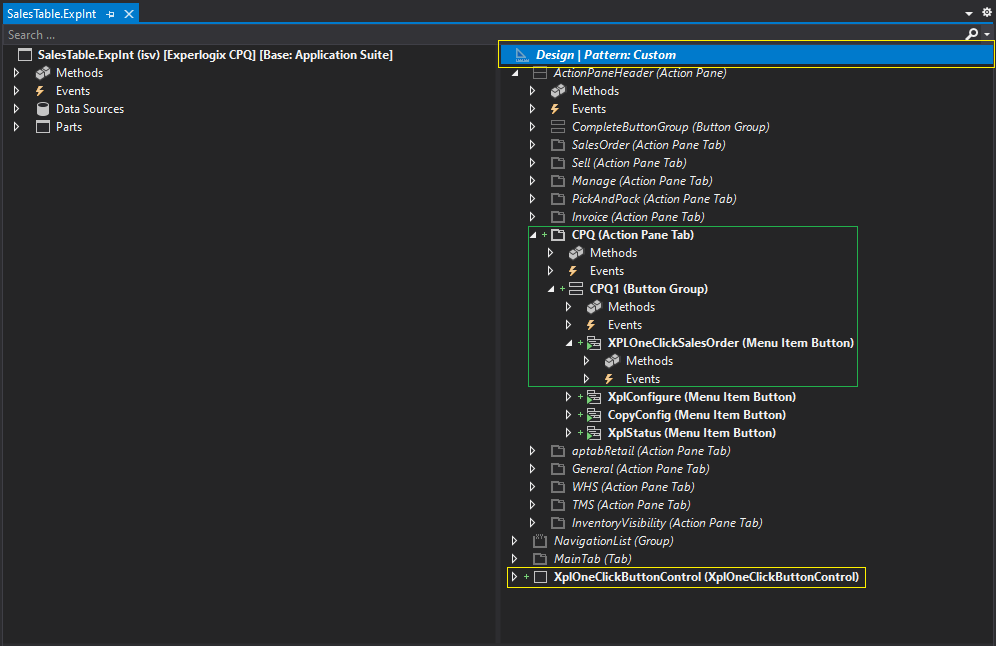
In the form design, refer to Form Extension Example (Green square in the image below):
-
Locate the Action Pane or another suitable section.
-
Add an Action Pane Tab and Button Group (if needed).
-
Add a Menu Item Button to the Button Group.
-
-
In the form design, refer to Form Extension Example (Yellow squares in the image below):
-
Set the Design property to Custom.
-
Add a component of type XplOneClickButtonControl.
-
Rename the component to XplOneClickButtonControl.
-
-
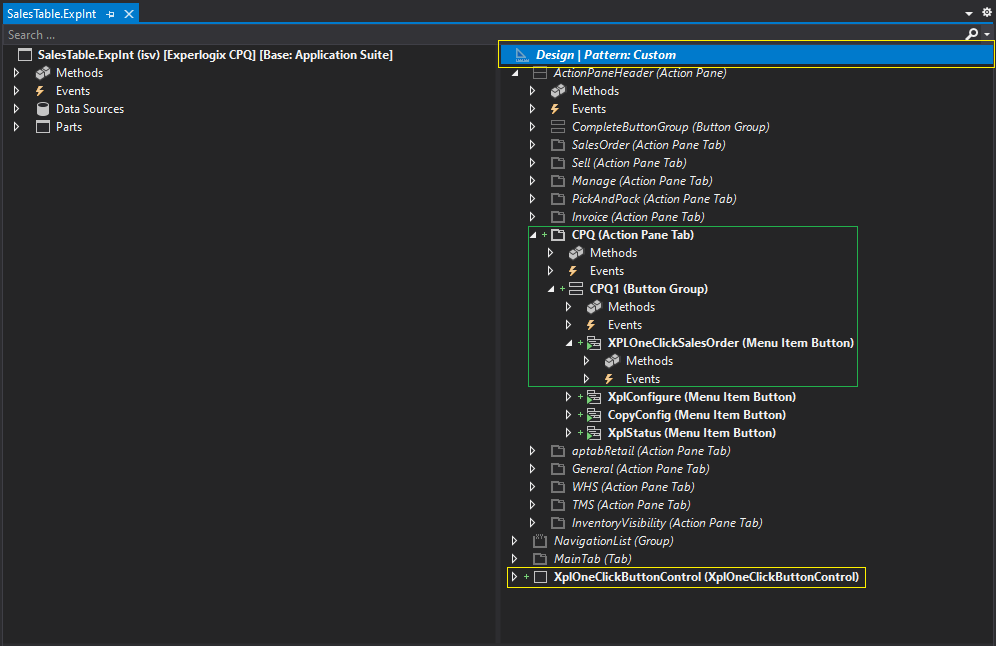
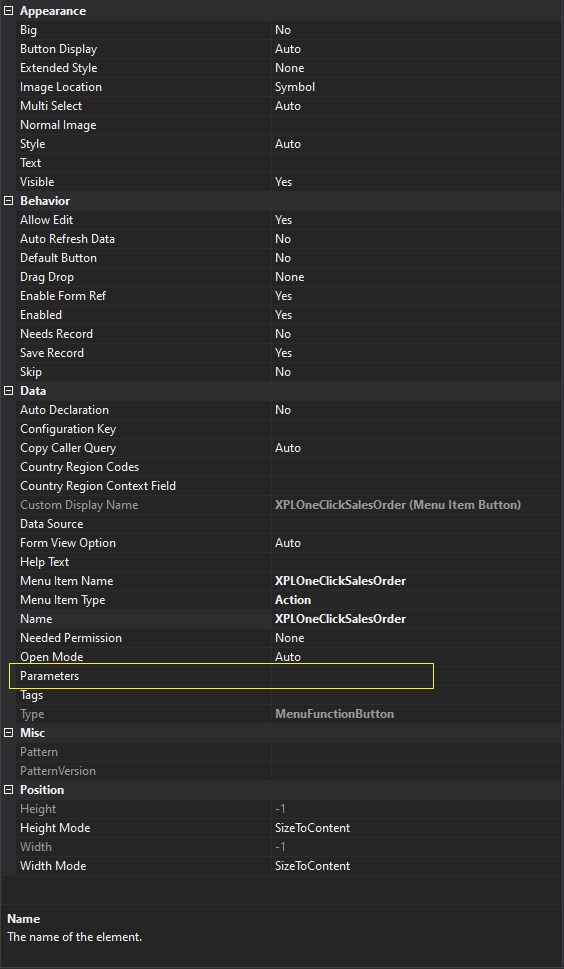
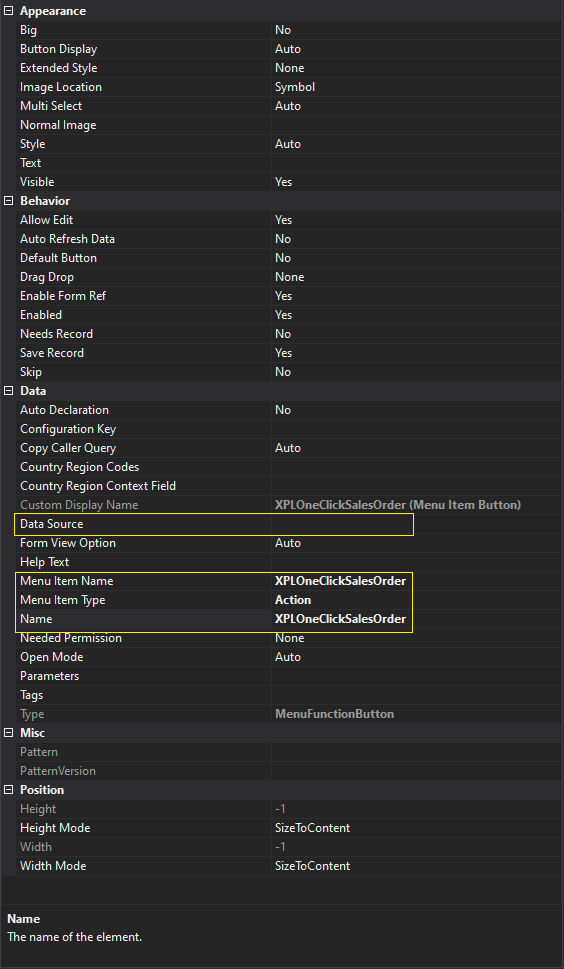
Set the following button properties:
-
Name: CustomConfigure (or something appropriate)
-
Menu Item Type: Action
-
Menu Item Name: CustomConfigureXYZ
-
Data Source: The root table used by the Configurator
-
-
When the Configurator is opened via this button, it searches for an enabled Processing Entity that uses the specified table as its root.
If the standard setup does not resolve the correct entity, manually specify the Data Entity Name as a parameter on the button. The Project quotation header is an example of such a data entity. See Configure Buttons for more information.
-
To ensure only users with the corresponding Role or Duty will see the button, configure security to control access to the new button:
-
Add your Action Menu Item (e.g., CustomConfigureXYZ) to an existing Privilege, or create a new one.
-
Add the Privilege to a Duty or Role as appropriate.
-
You’ve now created a custom button to launch the Configurator from a specific form. The button uses a menu item that can be restricted via security roles. If needed, pass the data entity name as a parameter to guide Configurator behavior.