
This topic provides details for configuring Cloud Connect in Design Center. After completing this process, users can connect Cloud Connect with the Design Center. During the process, you will make updates to the Publishing Toolkit and the Design Center Database settings.
Web Integration Settings
-
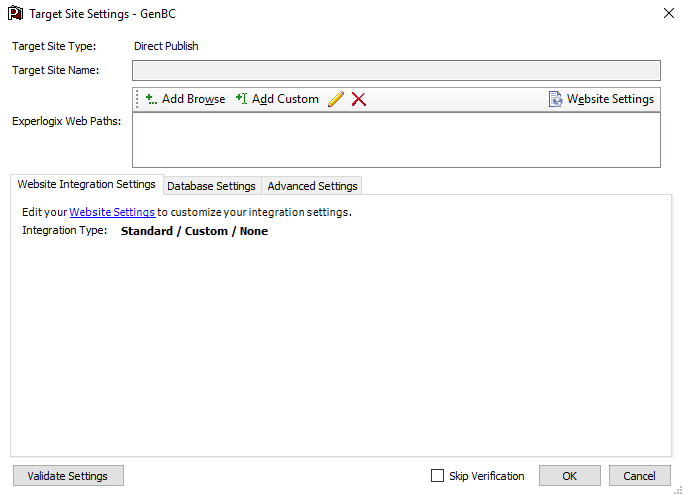
On the Publishing Toolkit toolbar, click Open. The Target Site Settings screen displays.
-
Click Website Settings. The Experlogix Config File Editor screen displays.
-
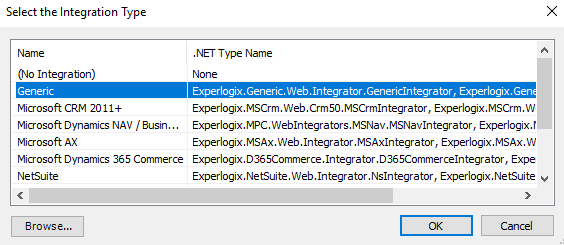
In the Web Integration Settings section, for the Integrator Type, click the ellipsis button. The Select the Integration Type screen displays.
-
Select Generic.
-
Click OK.
-
On the Experlogix Config File Editor screen toolbar, click Save Config File.
Generic Configurator Settings
-
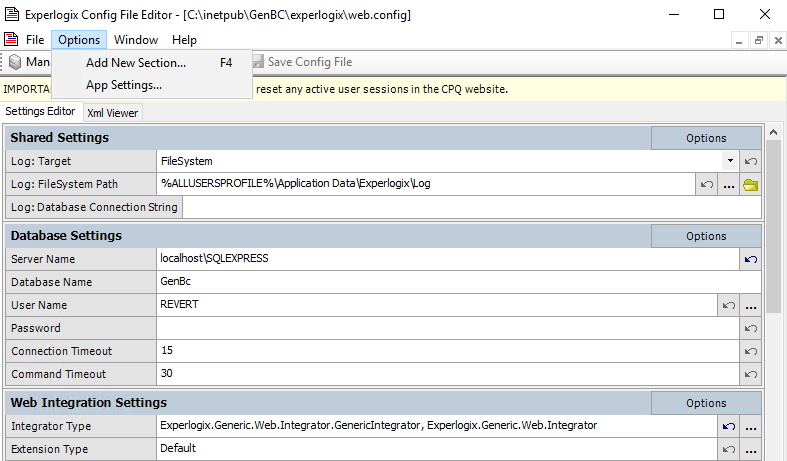
On the Experlogix Config File Editor screen toolbar, click Options.
-
Select Add New Section. The Add Section screen displays.
-
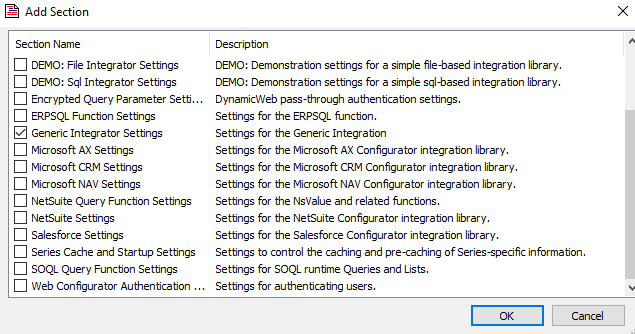
Select the Generic Integrator Settings checkbox. The Generic Integrator Settings section is added at the bottom of the Experlogix Config File Editor screen.
-
In the Generic Integrator Settings section, add the following:
-
In the Integration API URL field, if required, replace 'http://experlogix.com ' with the domain of the cluster you are using.
-
In the Token Endpoint URL field, if required, replace 'http://experlogix.com ' with the domain of the cluster you are using.
-
In the OAuth Client Id field, retain the default value.
-
In the OAuth Client Secret field, enter the Organization-specific Client ID in the cluster you are using.
-
In the Admin Center User Name field, enter the Admin Center username.
Use the password that was created for the local user. -
In the Admin Center Password field, enter the user's password that is created in Admin Center. Note that the Save Config File button is grayed out until you make a change.
-
-
On the toolbar, click Save Config File button.
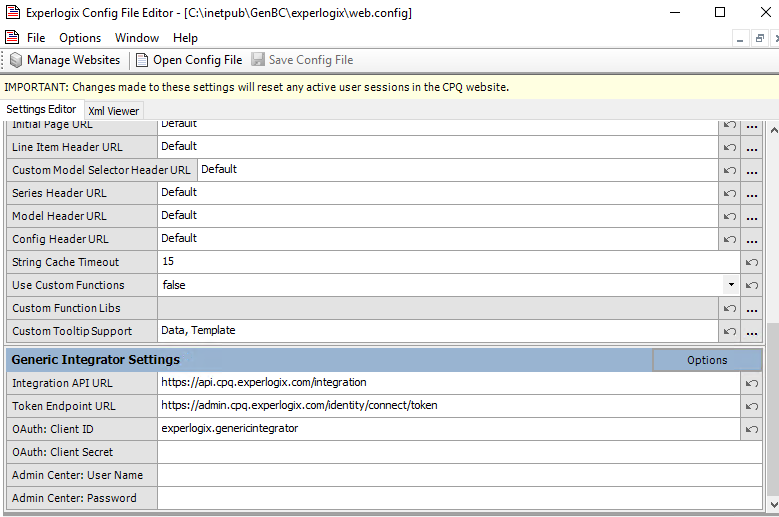
The updated Generic Configurator settings are saved in the Design Center.
The default timeout is 10 minutes for processing. Navigate to Options > App settings and add a key with value 'processTimeout' and value hh:mm:ss (00:20:00 for 20 minutes).
Process Designer Configuration
The Process Designer requires setup in Design Center for it to be accessible in Cloud Connect.
-
On the Design Center home screen, in the upper-right corner, click the Settings icon.
-
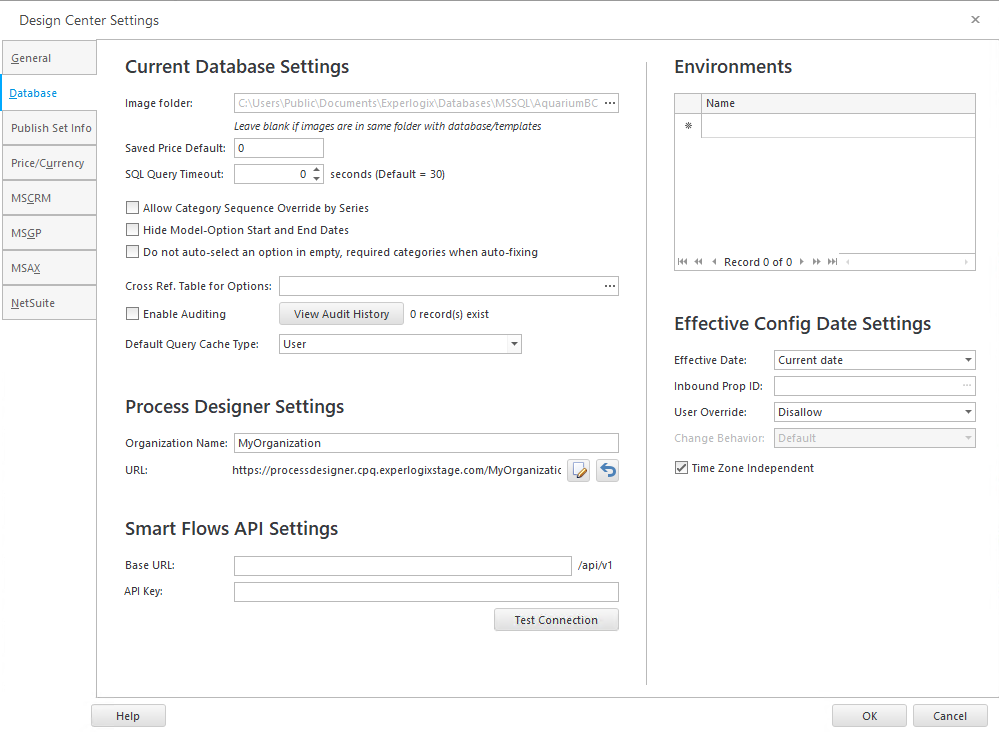
Click the Database tab.
-
In the Organization Name field, enter the organization's name created in the Admin Center.
-
In the URL field, enter https://processdesigner.cpq.experlogix.com/{OrganizationName}
In the URL, replace experlogix.com with the cluster domain that you are using.
This completes the Cloud Connect configuration in Design Center.