
The configuration steps provided in this topic help set up a configurator site for the Cloud Connect integration between Design Center and the Host system. This configuration is done after the configuration is completed in the Admin Center. This topic provides details of the site setup and the page configuration for Cloud Connect.
Site Setup
The Site Setup is done in the Deployment Guidance Wizard desktop app.
-
From the Windows Start Menu, click Experlogix.
-
Click Experlogix Deployment Guidance Wizard.
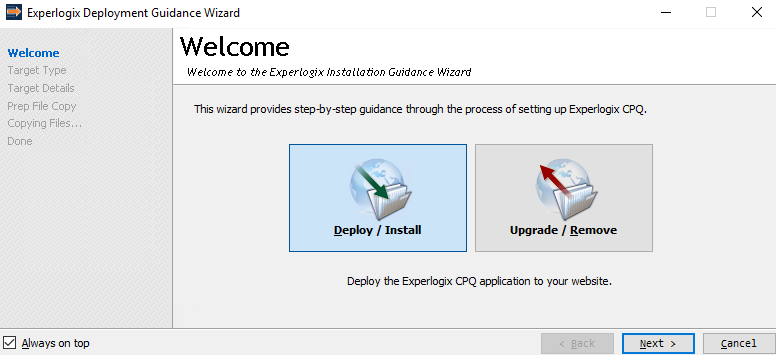
-
Select Deploy / Install.
-
Click the Next button.
-
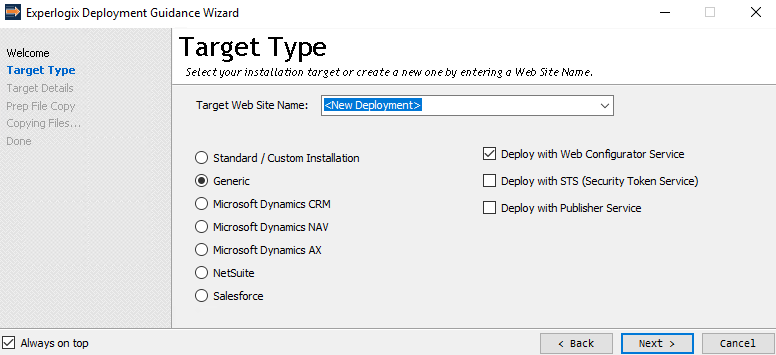
In the left pane, click Target Type.
-
In the Target Web Site Name field, select or enter a name for your deployment.
-
Select Generic.
-
Click the Next button.
-
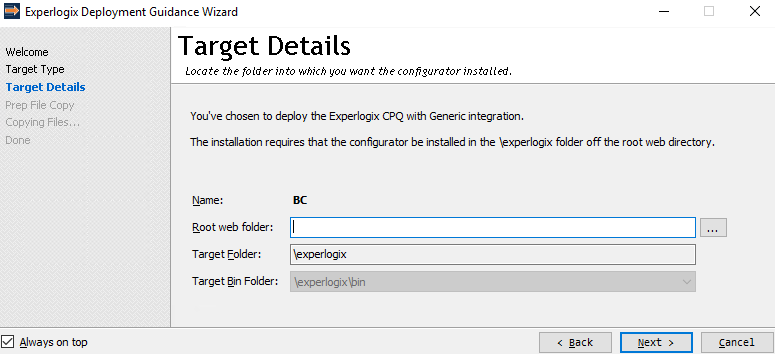
On the Target Details screen, select the Root web folder.
-
Click the Next button.
-
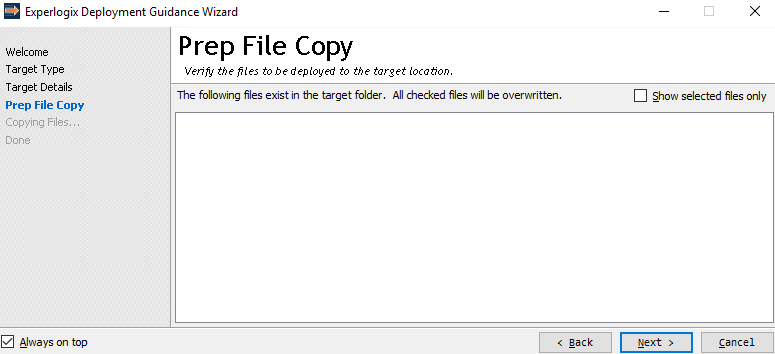
On the Prep File Copy screen, verify the files to be deployed on the target location.
-
Click the Next button. The files get copied, and the Experlogix Design Center is deployed.
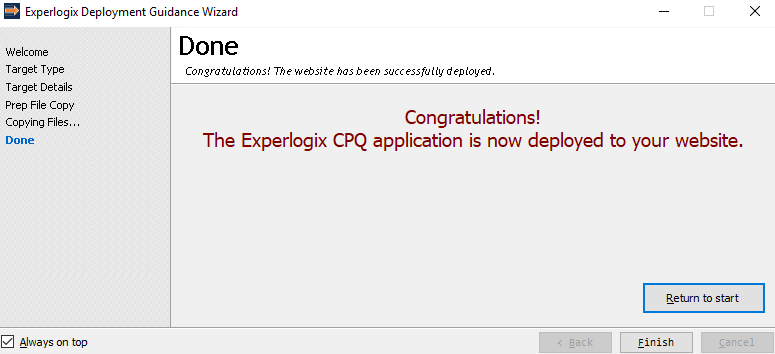
-
Click the Finish button.
After deploying the Experlogix Design Center site, the next step is configuring the configurator page.
Configuring the Page
After deploying the Experlogix Decsign Center, the configurator page must be setup so that it closes when the Save & Close button is clicked. For this to happen, the ConfigureItem.aspx file must be replaced.
To replace the configure page
-
Copy the ConfigureItem.zip file below:
ConfigureItem-477f6353-5c99-4a75-8c54-94e80b76698d.zip -
Unzip the ConfigureItem.zip file.
-
Place the ConfigureItem.aspx file in the \experlogix\site\pages\ location where the Configurator site is available.

This completes the configuration. The next step is to complete the STS setup. For more information, see STS Configuration.