
Experlogix has updated the Experlogix CPQ for D365 Business Central with Cloud Connect app to add the following:
-
Configure Price Quote
-
Digital Commerce
-
Document Automation
Every existing Cloud Connect Microsoft Dynamics 365 BC CPQ installation needs be updated with the steps provided in this document.
Try the below steps on a development or test environment first.
Customizations
Any customization, such as a configure button, needs to be reconfigured with the new app. If in doubt, please get in touch with your Microsoft Dynamics 365 BC partner.
Backup Experlogix Settings Table
-
On the Microsoft Dynamics 365 BC home screen, at the upper-right corner of the screen, select the Search icon.
-
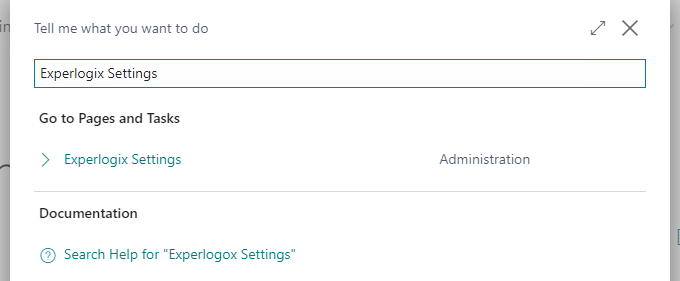
In the Search field, enter Experlogix Settings.
-
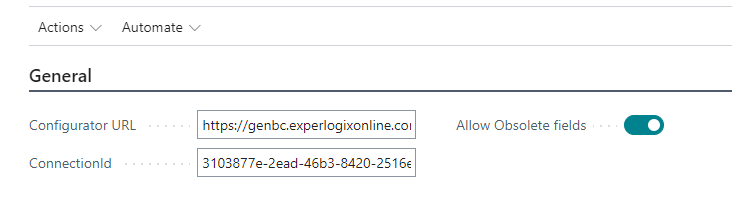
Select the Experlogix Settings link. The Experlogix Settings screen displays.
-
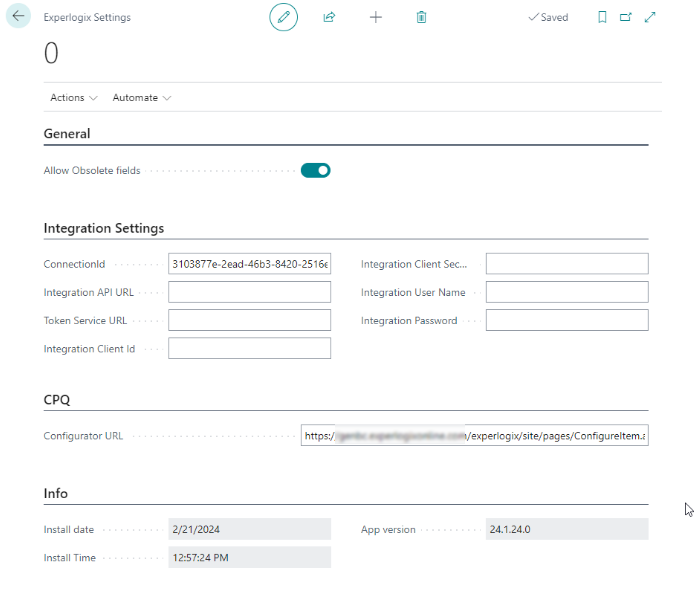
Copy the values from the Configurator URL and ConnectionId fields.
-
Note the state of the Allow Obsolete fields flag.
-
Configurator url: https://genbc.experlogixonline.com/experlogix/site/pages/ConfigureItem.aspx
-
ConnectionId: 3103877e-2ead-46b3-8420-2516e34df78b
-
Allow Obsolete Fields: Yes
-
Save the copied values in a document for future reference.
The Integration Settings values do not require a backup, as this is only used for the quote-to-order and copy feature. The secret and password is encrypted, therefore this database cannot be moved.
Backup Experlogix Table Setup
-
On the Microsoft Dynamics 365 BC home screen, at the upper-right corner of the screen, select the Search icon.
-
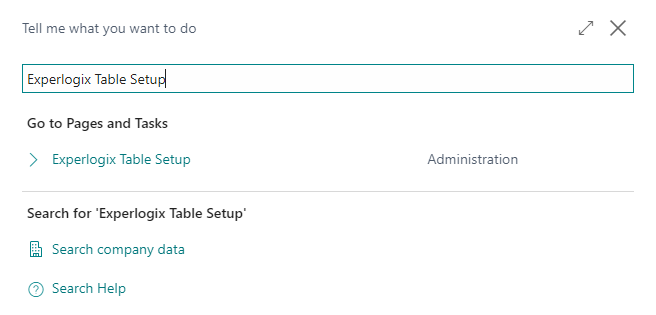
In the Search field, enter Experlogix Table Setup.
-
Select the Experlogix Table Setup link. The Experlogix Table Setup screen displays.
-
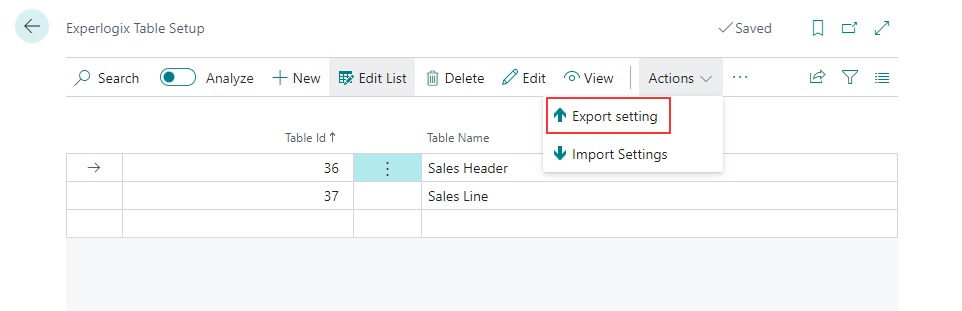
Verify if there is any data on the Experlogix Table Setup screen. If no data is available, go to Install the New App.
-
At the top, select Actions.
-
Select the Export setting option.
-
Save the file.
The saved file will be required in Restore Experlogix Table Setup.
Install the New App
Try this step on the development or test environment first.
For installation of the new app see, Set up Cloud Connect for Microsoft Dynamics 365 BC.
Use the values copied in Backup Experlogix Settings Table. Construct a URL and go to this URL for the clients Microsoft Dynamics 365 BC instance.
Restore Experlogix Settings
-
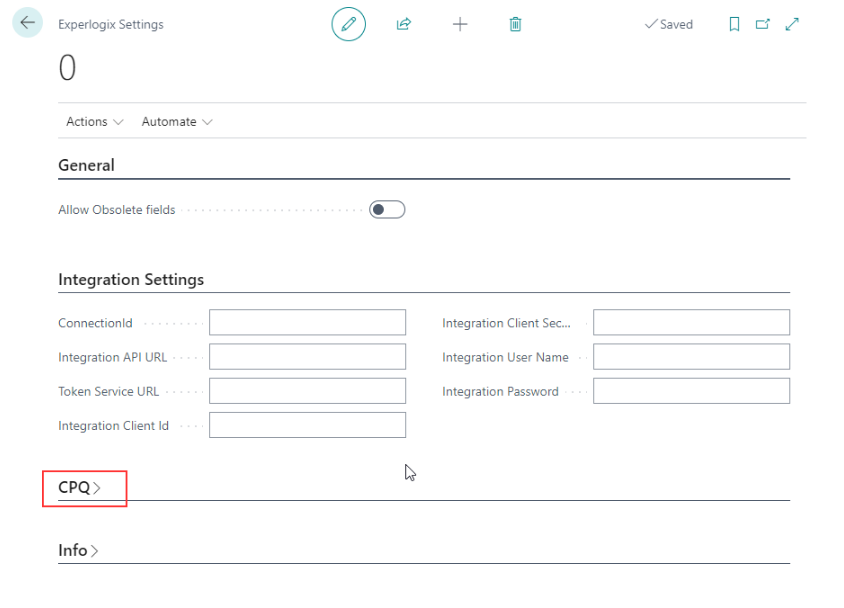
Access the Experlogix Settings screen.
There are two entries on the settings screen as both apps are temporarily installed.
-
Select the CPQ section to expand it.
-
Update the CPQ section fields with the values copied from Backup Experlogix Table Setup.
Restore Experlogix Table Setup
Perform this step only if there was data present in the Backup Experlogix Table Setup. Otherwise, you may move to Uninstall the Old App.
-
On the Microsoft Dynamics 365 BC home screen, at the upper-right corner of the screen, select the Search icon.
-
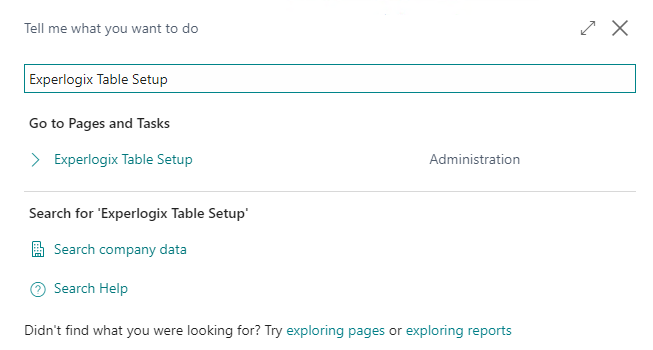
In the Search field, enter Experlogix Table Setup.
-
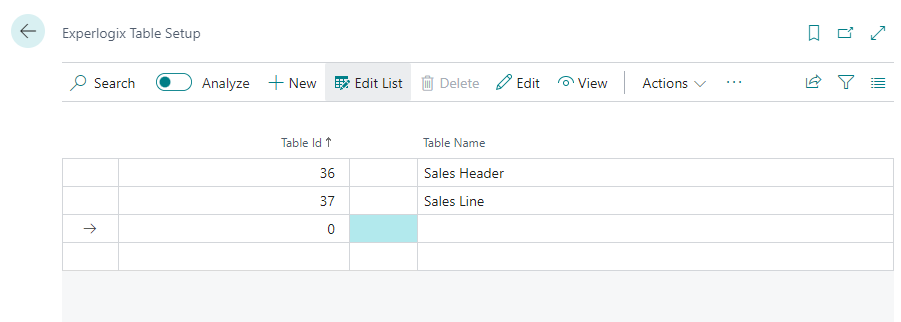
Select the Experlogix Table Setup link. The Experlogix Table Setup screen displays.
-
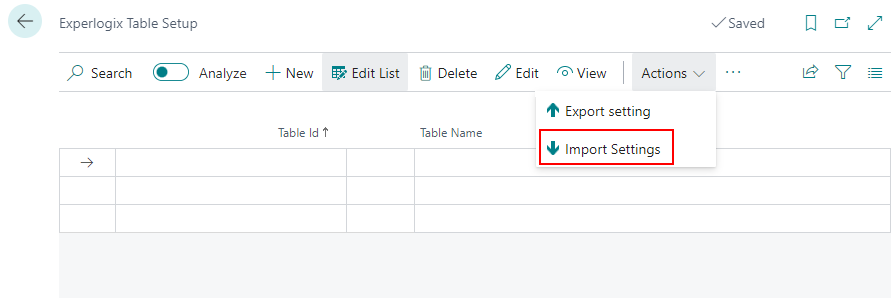
At the top, select Actions.
-
Select the Import Setting option.
-
Select the file exported in Backup Experlogix Table Setup. The file is imported and the data is added to the Experlogix Table Setup screen.
Uninstall the Old App
-
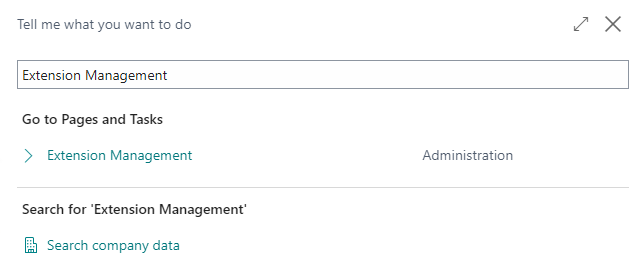
In Microsoft Dynamics 365 BC, in the Search field, enter Extension Management.
-
Select the Extension Management link. The Extension Management screen displays.
-
At the upper-left corner, select the Search icon.
-
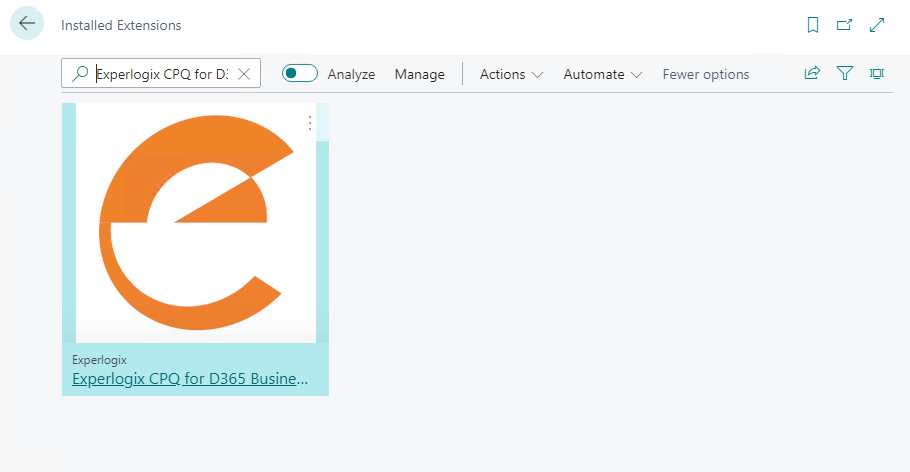
In the Search field enter Experlogix CPQ for D365 Business Central with Cloud Connect.
-
Select the search result.
-
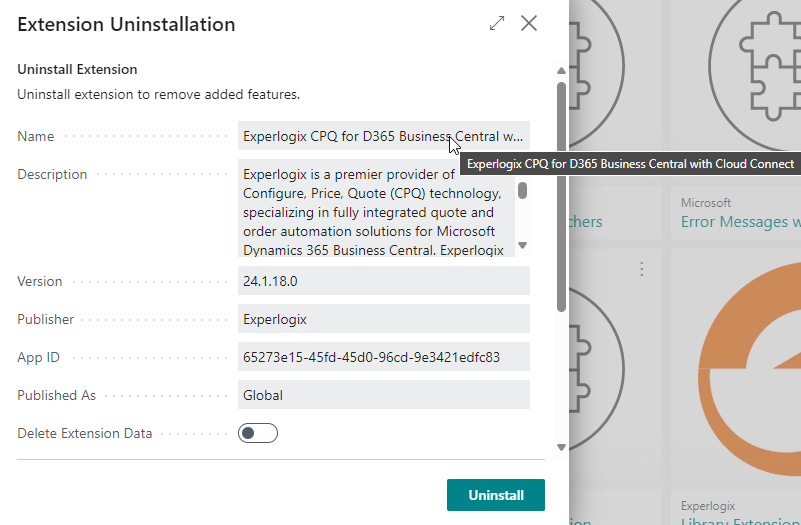
Select Uninstall on the Extension Uninstallation screen.
Restore User Roles
-
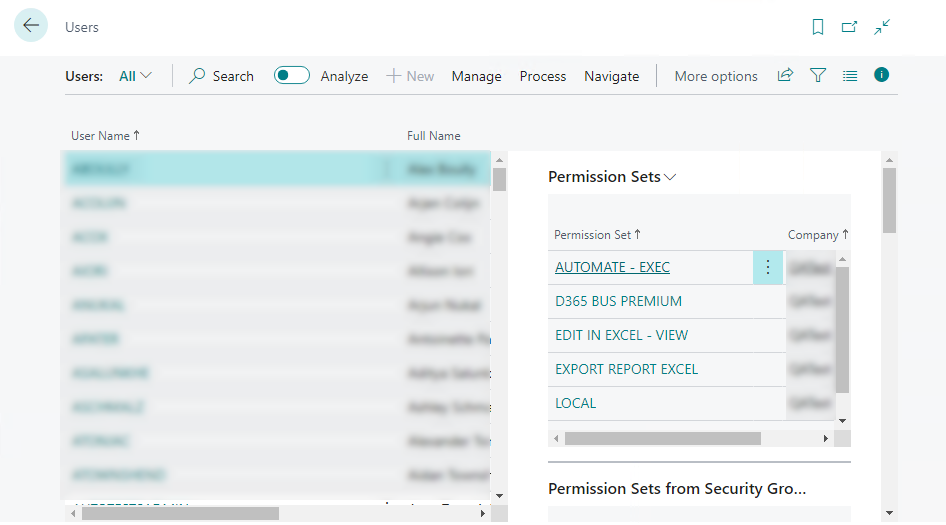
In Microsoft Dynamics 365 BC, in the Search field, enter Users. The Users screen displays.
-
Select the User Name for updating the role.
-
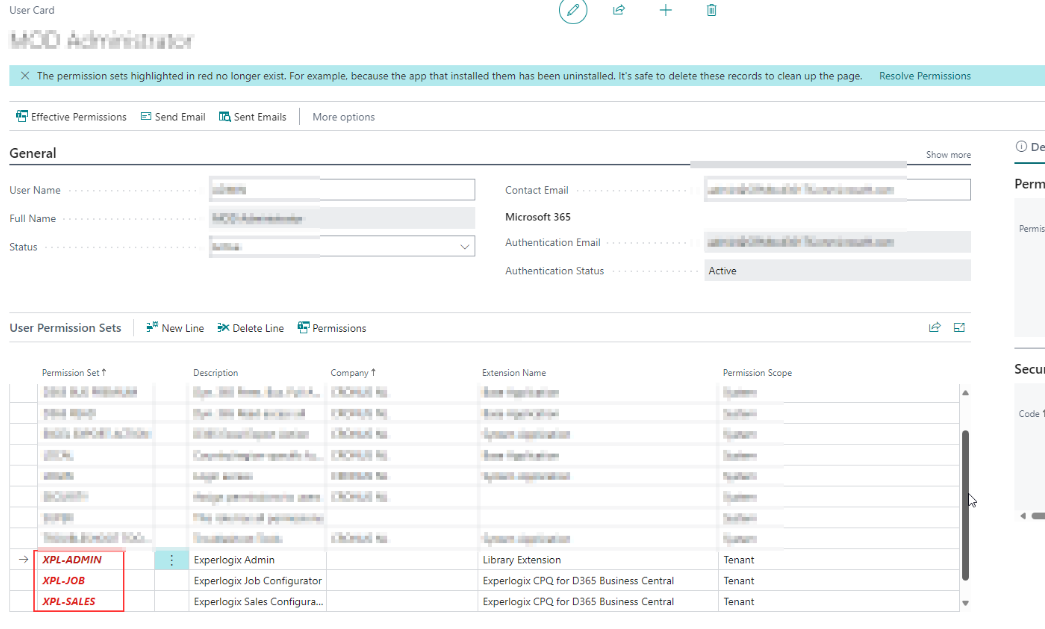
Remove all roles that have names starting with XPL-.
-
Add the roles, keeping the names same.
Only select the roles with Extension name 'Experlogix CPQ for D365 Business Central'. The old app is named 'Experlogix CPQ for D365 Business Central with Cloud Connect.'
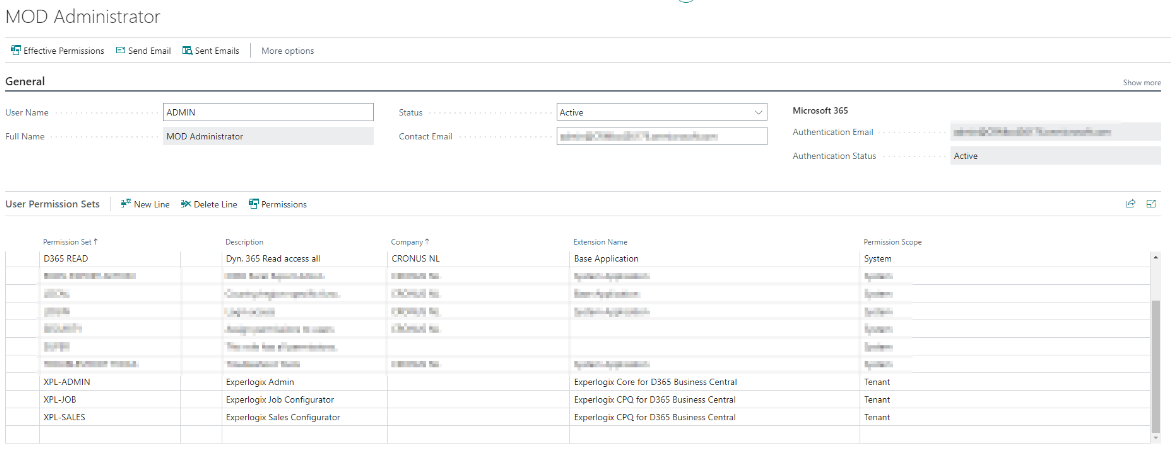
This needs to be repeated for every user with Experlogix user roles.
Regression Test the Solution
The last step is to regression test the solution using the normal regression testing method.
This completes the migration process to the new Microsoft Dynamics 365 BC app.